Thursday, January 31, 2019

Your plants need their companions..


Companion planting is very important in permaculture and in food forest gardening. Although plants can survive without help, they do much better when they have other plants around them. Trees especially grow in nature among other plants and trees, or in Forests. Some trees are great dynamic accumulators on their own and some even fix nitrogen in the soil to fee the surrounding plants, but many not only need companion plants but also some will produce little or no fruits without another tree or plant to pollinate their flowers.

When you buy your plants, you should always read the information tags to find out if they need one or two other pollinators planted nearby. You may be fortunate to have another tree of the same species that will pollinate your tree, or maybe your neighbors do, but if not you are going to have to buy the pollinator for your tree or plant or you won't have any fruit.

First we'll talk about dynamic accumulators. What they are, are plants that send their roots deep into the soil and draw up nutrients from many many feet down in the soil and
make those nutrients available to themselves and to their companion plants that are around them. When the plant parts die such as the leaves or branches of a tree falling, or the leaves of a plant or it's fruit falling, the resulting mulch will feed the plants and worms and soil around them, and also they exude nutrients from their roots into the soil to feed nearby roots of trees and plants. Many dynamic accumulators are evident by their long spiked roots such as diakon radish, horseradish, burdock, chicory, mustard, etc. Here is a list taken from Gaia's Garden book chapter 6 of many dynamic accumulators, for more information on these see the book ISBN # 978-1-60358-029-8

Alfalfa, apple, beech, alyssum, bentgrass, birch, borage bracken fern, buckwheat, caraway, carrot, cattail, chamomile, chickweed, chicory, chives, cleavers, clover, coltsfoot, comfrey, dandelion dock,dogwood, duckweed, fat hen, fennel, fescue, flax, garlic,, geranium, hickory, horsetail, kelp, lambs quarters, lemon balm, licorice, maples, marigold, meadow sweet, mullein nettles, oak, parsley mint, pigweed, plantain, primrose, purslane, rapeseed,  salad burnet, savory, shepherds purse, sorrel, sow thistle sunflower, spurge, strawberry, tansy, thistle, valerian vetch, walnut, willow, yarrow.


You can see that forest floors are covered not only with plantlife but also fallen trees, logs, and brushpiles. These should be duplicated on your property as well if you have the room for them. Brushpiles will provide shelter and food and nesting grounds for beneficials, and logs are a great place for newts, lizards and snakes which will eat a lot of the damaging insects on your property. Also returning nutrients to the soil as they rot. Most people won't want to have dying or dead trees standing on their property but if you have an out of the way corner, please leave them for the wood peckers and tree nesting and cavity nesting birds and animals.

In another post we'll talk about other types of companion plants, such as nitrogen fixers, as well as other things we should have around our property including rocks, stones, gravel, mud, water, etc.

Wednesday, January 30, 2019

What is Permaculture ?

Permaculture was coined by Bill Mollison  in 1959. It is a combination of the words Permanent and Agriculture. It is a mixture of principles and practices of ecological design of properties, not just gardens. It was created in Australia, but is now world wide. The same principles were used by North and South American Natives, Aborigines and even some Northern European countries.

Several good books about permaculture are: One Straw Revolution, Introduction to Permaculture, Sepp Holzer's Permaculture and Gaia's Garden. Much of my knowledge of Permaculture was gotten from these books.


David Holmgren wrote several early books on Permaculture, Permaculture: A Designer's Manual, is a good one for you to read.

The plan observes nature and tries to maintain any property is principles that are as close to nature as possible. The 14 permaculture principles are: Observe, Connect, Catch and Store Energy, Multiple Functons, Multiple Elements, Least change for greatest effect, small scale intensive systems, Optimize Edges, Succession, Use biological and renewable resources, Turn problems into solutions, Get a Yield, Limit to abundance is creativity and Mistakes are tools for learning.

Youi observe your property site in all seasons before making any changes, that way you are familiar with what you already have. Try to find the most number of connections possible and connect systems with systems. Catch and store all the energy and materials that come onto your property is the best ways possible. This includes things like water, sunshine, wind, windblown leaves, down wood, etc. Have each element perform as many multiple functions as possible and stack elements in space and time. A small example is how many functions would a grape vine on a trellis have? Food, shade, bird habitat, etc. Multiple elements or redundancy. If you have a cornfield and corn fails you are out, but if you have apples and cherries and pears in a strip of land beside the cornfield, you have redundancy, and something to eat and sell when there is one crop failure.

Make the least change for greatest effect, intervene where you can do the best good with the least change. Use Small Scale and Intensive systems, Intensive gardening is one of those intensive syssems, but all systems can be optimized and proper arrangements and zones are used to make best use of systems. Like have the chicken coop near the compost pile, next to the garden, etc.


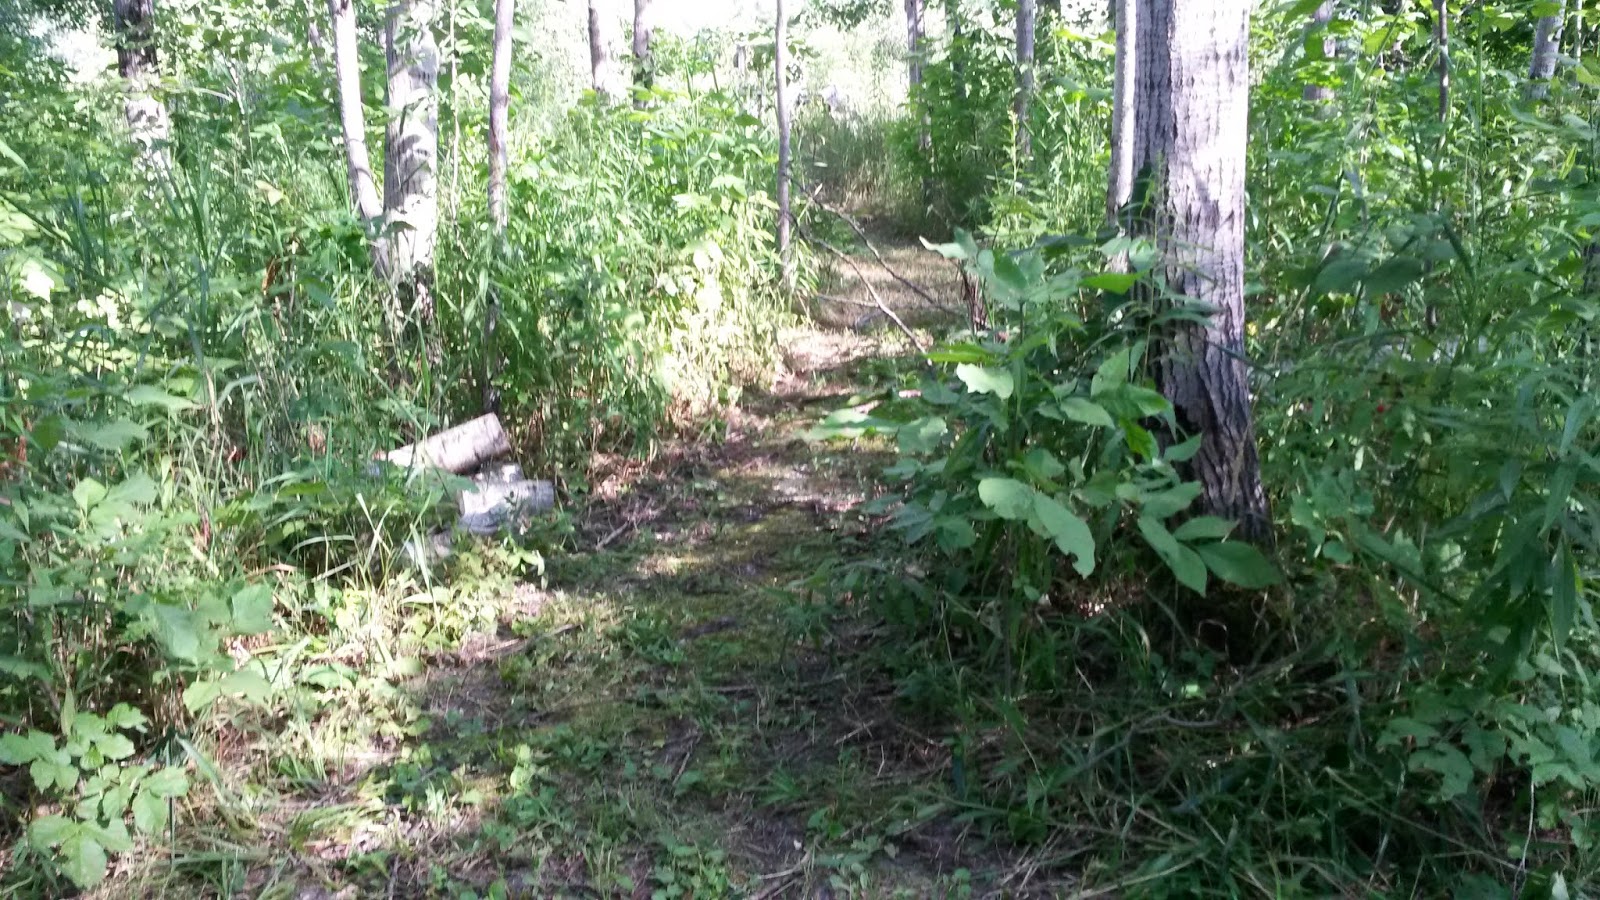
Optimize edges. Edges can be any edge, the bottom of a hill, above it is the edge of the drainfield in the back yard at our house. The edge of a pond, the edge of a field, the edge of the woods, the edge of the beds, the edge of your yard, the ditch along the edge of the road. Edges are great places for growin food forests, and other types of gardening. The wind will blow things like soil and leaves and seeds that will catch in edges of woods or along fences, etc. Any edge is the intersection of two diverse elements. Around your house is an edge between the house and the property. Energy and materials accumulate on edges, and sun is reflected off of buildings and trees to make microclimates around houses, fences, ditches, etc.


Collaberate with succession. I discussed this a little in the food forest post. Succession is what happens when a field or lawn isn't mowed. First some non grass plants will blow in, birds will poop out tree seeds and bush seeds and little seedlings will begin to grow. And this will all eventually build up into old fields and then young forests (we'll talk more on those later). You can work ahead of succession, by planting somewhat mature baby trees, bushes and perennials as described in the food forest post.You can BEAT THE WEEDS. Use biological and renewable resources. Yes you could put down plastic mulch, but organic mulch will allow rain through, feed your plants and worms .
Use biological and renewable resources, this one is pretty self explainitary. Try not to bring things onto your property that will have to be hauled to the landfill. Use organic mulches and practices when you can.
Turn problems into solutions, such as the fence above that I put in 20 plus years ago when the trees were babies to protect from the critters. Now that the trees have grown it is being removed and used in another area

Get a Yield. You plant fruits, vegetables and nuts to get a yield. There is no reason to plant these items if you don't intend to use them.
I find that a canner and or a freezer are essential when you have a large garden so that you can put your garden produce up for later use. Or you may be planning on giving it away or sellling it. Still you want to optimise your yield.


Be creative. You may need to use some nature foolers in some areas to get that yield. Above are April photographs 2018 of my tiny little greenhouse. You can also use hot caps, cold frames, row cover, etc to help your plants along in the really cold areas. In the desert you may need shade and irrigation ditches to be able to grow anything at all.

Mistakes are a tool for learning. All people make mistakes at some time or other. Use them to learn. Better to do some reading and studying before doing, and planning ahead but we all have some plant failure or really big stupid mistakes. Use them as an opportunity to learn.These are the design principles of Permaculture, but it is much more than this. You may be able to find more information by googling Permaculture, food forest gardening, edible forests, etc.

Tuesday, January 29, 2019

What is Hugelkultur ?

A woodsy way to build your soil, is Hugelkultur or Hugelkulture. This is a European way to grow plants and it is used by Permaculture gardeners all over the world. Permaculture comes from the words, Permanent and Agriculture. I'll explain more about that throughout my blog and in other posts, but one of the basic principles of Permaculture is to keep all your waste on your own property, or to limit waste entirely.

Hugelkulture beds are basically raised bed, either contained by an edging or just mounded up anywhere on your property. Many of you are familiar with a compost pile, well, Hugelkulture composts your organic wastes IN the soil in the bottoms of your beds.
The best way to build a hugelkultur bed is to choose a sunny area of your property and either strip off and save the sod, or cover it with cardboard or newspaper to kill off the weeds and grasses. You can if you desire dig a ditch, hole, or completely dig out an area and save the soil, or build your bed on top of the ground smothering the weeds and grasses. This method builds a raised bed and is wonderful for poor, clay, or damaged soils. Our soil where I built these hugel beds was heavy sodden clay.
The first bed I built is the one closest on the top photograph. I chose to remove about a foot of soil from the area, saving it for the top, and I filled the ditch with a pile of large tree trunks stacked lengthwise in a pyramid. Then I put smaller branches, twigs, leaves, compost and stacked the upside down sod over top of the trunks and branches and compost. You can use any type of organic materials, but larger pieces of wood are best for large beds, as they hold water, break down slowly, and feed your bed for years and years. 
On top of the upside down sod I replaced all of the soil that I removed from the bottom of the bed and added some more compost and topped it all with wood chips. 
The beds should be planted as soon as you are finished building them as they are full of active decomposition and nitrogen is free to be used immediately by the plants you put on top. Water it all really well during each phase of building so that there are no air pockets left between the parts of the hugel bed. Basically you are composting in place in both the bottom and top of the bed, and if you want to continue to add fertility you can always continue to dig in or add compost as it is available, or just pull away the mulch and put the compost down and re cover it with mulch again.
The material breaking down in the middle of the beds and bottom, will provide your plants with nutrients for many many years, and these beds are wonderful for plants that have high nutrient 
requirements. It is also a good way to get rid of tree trunks, brush, leaves, hay, or anything you have left over on your property that you have no use for. 

The first year I planted these beds with annual vegetables and herbs and got a huge harvest.
The second year I planted the beds with strawberries, blackberries (thornless), kiwi vines and grape vines as well as some goji berries, comfrey, parsley and other perennial herbs. Also at the far end to the right of the bed I planted a baby Giant Breda Medlar tree, with the white trunk guard around it, and it has had a great harvest the past two years.


Above is another smaller hugel bed that I built 3 years ago. This one is a special bed I designed for Blueberry plants, which require acid soil. The branches that I put in the bottom of the hole under this bed are evergreen boughs, to provide acidity. I also filled the soil with acid type mulches, coffee grounds, peat moss, etc and planted 7 blueberry bushes in this bed. The blueberries have had a small harvest for the past 3 years now.


The fruit you see above that is red, is unripe blackberries, behind them climbing the arbor are kiwi vines and grapevines, and the ground cover is strawberries.


Grapevines had a huge harvest this past year, unfortunately some were not as ordered (seedless), which was a disappointment, but they were nevertheless delicious. 


This is a photograph of the baby fruits of the Medlar tree last year, it is very happy in it's hugel bed.

Monday, January 28, 2019

What tree should I buy?


So, you are thinking about growing a tree, but what kind of tree should you grow?

The first thing is to think about what kind of food you LOVE to eat that grows on trees, fruit, nuts, etc. Then consider the area in which you live, cold north, desert, middle of the country or hot balmy south. Each area will support certain kinds of trees and will refuse to support other kinds.

Here in the North the best fruit trees to grow are apple or pear trees, and the best nuts are hazelnuts or walnuts. We are in hardiness zone 4 or 5 in the area where I live and we are on the edge of growing temperatures for lots of fruit and nut trees.

One way to know what will grow on your property, is to look around and see what is growing in your area and what they are selling at the local farmers markets. Look at the neighbors and in neighboring towns that have similar weather patterns to your area.

Here they are able to grow much less hardy trees near the water or just 10 to 15 miles farther south than our home, so you really need to pay attention to your zone and temperatures. You can find a hardiness zone map of your area by doing a google search.

If you look at my previous post you will learn how to dig a proper hole and plant your tree.

When you shop for trees, the bigger the better. You can find tiny little seedlings that are sold bare root, but they take much longer to fruit than a bag and burlap or potted fruit tree from a reputable nursery. The tag should tell you if it is hardy for your zone and give you some planting tips for the tree.

Most trees prefer full sun and do best if there is some wind protection (more about windbreaks later). They also do better on a slope if possible but slopes are not required. A slope will drain frosty air away from your tree in spring to help to keep the blossoms from frosting.

Most of the garden books will tell you to prune your tree, honestly most trees really don't require pruning unless there is damage to the branches, but some trees do produce better on new wood. You can look up on google the care of the type of tree you plant in the future, but right now, just put it in the hole, water it, mulch it and cut off any broken branches.

Soon you will want to give it some companions, so I'll put a post on later about guilds..these are companion plants for your tree.

No, don't just dig a hole !


The reason many people have failures when planting trees on their property is that they don't know how to plant a tree. Forests are a fungal soil type, lawns are a bacterial soil type. Trees will not grow well on a bacterial soil type and lawns won't grow well on a fungal soil type.

People will buy a tree from the store, dig a hole and pop it in and water it and expect it to grow. Generally those trees fail. A tree has to have fungal soil types around their roots to feed them with the fungal organisms that they require for healthy growth. Even worse is if you get a bare root tree that doesn't even have any good soil around it at all when you buy it, then you stick it in the ground with grass around it. Not good

The planting of a tree is a lawn is not impossible but really does require some help for the poor thing at planting time. First you must remove the grass and weeds from the entire root area of the tree. But even more important than that is to go somewhere where trees and shrubs grow and gather a few handfuls of soil and forest duff and maybe some sticks and twigs that are around the forest floor and bring them to the hole before you put in the tree. The more the better. If you do not have access to forest areas even a few sticks and leaves from a local park will help, but soil is much better. The last resort would be to find some fallen branches or sticks from a tree that have laid on the ground for a while and begun to deteriorate, you can pound them in the ground around the tree or break them up into the hole. You are trying to get fungal spores from the forest into the soil.

If you can't get good forest soil or branches or twigs or leaves or something at least make some compost from the parings and food scraps (non meat/fat) that you have in your home and add those to the hole before planting the tree, it will give the worms something to eat and maybe they'll haul in some fungal spores??

When you dig the hole for the tree make sure you take a tool of some kind and poke holes in the sides and bottom of the hole to give the roots somewhere to go,and make sure that there are no air pockets in the hole after you plant the tree, water and firm the soil down well and water again.

Leave a small saucer type of indention around the tree so it will hold water when it rains rather than all the rain running off away from the tree and always add some mulch of some type to the top of the soil to keep the water in the soil. Mulch is best if it is organic like leaves, twigs, wood chips, bark, compost, hay, etc. Keep the mulch an inch or so away from the trunk of the tree and make sure it is also well watered so it doesn't shed the rain.

Now water that baby tree whenever the soil gets dry, generally 1 inch of water a week minimum. If you get a good rain that will help a lot.

Remember you want your tree to have companions so look to the post I'll put on later on GUILDS.

Sunday, January 27, 2019

What is a food forest?

A food forest is a food and habitat producing landscape, the goal is to mimic a natural woodland with park type land in between groves of woodlands of spreading fruit and nut trees, these form the canopy of the food forest. In the areas of sunlight where it is brighter some smaller trees would be planted, such as dwarf fruit trees like cherries, peaches, plums, paw paws, and maybe smaller species of nuts such as hazelnuts.

The third layer of a food forest would be the shrub layer. You could have fruiting shrubs in this layer such as berry bushes, or you could have pollinator attracters in this area like barberry, honeysuckle, lilac, and cotinus. Some books also suggest having your grape and kiwi vines in this layer, however, such vines can easily climb a fruit tree and cause it serious damage or death. So, therefore, I prefer putting vines on arbors that are strong enough to hold them rather than in the food guilds (I'll explain guilds in another post).
Here is an example of a grouping of beds and arbors for vines, my first post showed this with grapevines and kiwi vines and thornless blackberry vines growing in them, but this shows the construction of the beds so they are easier to see. These beds were made with the hugelkulture system of putting logs and branches in first and filling with compost and soil. I'll talk about hugelkulture in a future post.
This tiny bed was put in a few years ago and eventually planted with blueberry plants. Blueberries require acid soil and so a separate bed was needed to provide the proper soil for them.
OK. Back to the food forest explaination.
Beneath the brighter edged of the guild where the sun reaches well under the trees, especially on the south sides are the places where you put perennial herbs, mulch plants, dynamic accumulators, beneficial insect attractors, nitrogen fixers, and possibly a few annuals. (I will talk more about each of these things in other posts).
The goals is to weave a many layered garden into a cohesive whole, each plant supporting the other plant in the guild. This configuration will extend a welcome to beneficial insects and birds to help to control any damaging insects and diseases. It will also attract other wildlife and hopefully it will be attractive to people as well. 
You are trying to create an open and many layered edible woodland garden. A few tall trees in front or at the back edgee with some shrubs for hedges and berries and even to act as windbreaks for the more tender plants. Maybe a vegetable patch or a few herbs or medicinals. All totally integrated into a smooth working whole. It is very important also to maintain access to the crops to harvest them, so trails or paths are very important as well as maybe a stone or log or path to step on to go in and harvest the fruit.
The food forest goal is to have a garden where there is a nearly constant rain of fruit or nuts or other foods, to where you almost need a hard hat to walk the trails of  your property. A food forest offers the biggest possible crop yields that you can have on a property as well as maximum wildlife habitat and the greatest diversity with insurance against crop failure. One crop fails but others step up to provide a different food. 
Nearly every inch will be filled with greenery, fruit, flowers, herbs vines or habitat, leaving only the open parklike trails outside of the harvest. Even the trails can have some edibles growing in them such as wintergreen berries, strawberries, edible greens like dandelion and nettles.
Every month in the growing season will bring a new fruit, or nut, or vegetable, or herb, or salad green as well as teas and medicinals. And if you are into crafts you can gather branches or seed pods for them as well as flowers for your house.
Morel mushrooms grow in many of my trails and paths.

I live in Michigan that is a cold northern state and so I also have a small greenhouse. I grow my tomatoes and a few of my herbs and some other tender plants in the little greenhouse to protect them from cold, and disease from rain on the leaves. We'll talk about the greenhouse later.

So this is a basic overview of a food forest garden. I'll delve into the details in future posts.


My Goals

My Goal is to allow nature to do more of the work, as my gardens mature. Trees will begin to fertilize the beds with dropped leaves, twigs and bird manure. This will add nitrogen to the soil. I can add more nitrogen to the soil by planting nitrogen fixers around the trees and insectaries to attract beneficial insects and pollinators close to the fruits and vegetables. In this way also beneficial , small mammals and birds will remove some of the damaging insects, so I don't have to remove them.
We should always strive to cover all bare soil with some type of mulch or plants, bare soil is damaged soil. However, a few small areas of dust and mud are helpful for animals and birds to dust themselves and mud feeds birds and bees and butterflies, and helps wasps to make homes. It is important to plant most of our plantings in polycultures, avoiding monocultures except in the instance of some plants that need to be planted in large groups, like sweet corn that is wind pollinated. Even corn can be interplanted with beans and squash as in the three sisters formation that the native Americans  used.

If you choose food producing plants to fill in bare areas, you are lessening your needs to purchase non home grown foods, or medicines, or craft materials that you can grow on your own property. You can also accelerate succession by creating a more mature landscape planting partly mature trees and plants around the ones you already have on your property. Woodland edges are always going to attempt to encroach on your lawns and gardens, if you plan for that you can choose what plants are growing there.

Bare areas will be created when a tree falls or an area is disturbed by work done on your property. You have an opportunity to choose before nature does, and if you choose a food, craft or medicine producing plant, you have given your property the ability to produce items you'll need in the future thus reducing your purchasing needs for foods, teas, medicines and craft supplies. You can even grow your own firewood over time.
All of these trees and shrubs were planted in the last 30 years except the one maple tree on the left. 

The area to the right of these trees was a low unusable field, swampy and flooded in the spring. When we had our housefire the contractors dug out this area for fill around our drainfield, and made a shallow pond for the wildlife. We have dug it larger and added a few deep areas and an island and waterfall, but we keep it very "wild" for the animals and birds to enjoy.
Here I am slowly removing as much lawn as I can on the property, although leaving trails all over the property made from mown field grasses and herbs. All of the drive through areas on the property are filled with wildflowers and wild grasses except where they go through the woods and there is too much shade for plants to grow, then it is mossy and covered with leaves.
I have enjoyed opening up trails through the woods to walk on, and I keep them open with a riding lawnmower and d r trimmer.

 These are trails that I have cut into the woods so that I can enjoy walking through them. There are morel mushrooms, several kinds of berries and even some apple trees back in the woods that my paths lead to.

Our neighbors also have paths through their woods that connect with our paths and trails in the woods, and the bear and deer take advantage of the trails to maneuver through the woods without any obstruction. 

We have even planted some plants in the woods for animal forage, such as Jerusalem Artichokes. I have planted several fruit and nut trees near the woods and in the south edges of the woods. Black Walnut, Carpathian Walnut, Butternut, Heartnut, Chestnut, Hazelnuts, Plums, and Apples.


Saturday, January 26, 2019

Food Forest at Restful Trails


Welcome to my new blog. My previous blog was at restfultrailsfoodforestgarden.blogspot.com but I can no longer post on that blog so I'm starting over.

My goal for this property is to establish food forests in every corner. I will tell you about food forests and hope that you will be inspired to grow food on your own property.
As my husband and I are getting older now, I'm going on 68 this year and him 70, and he is disabled and I am recovering from 2 major surgeries last year, We are starting to put our smaller garden areas into raised beds near the house, so that they are easier to reach.
The bed above is the second raised bed we put in this area, tied to the first by the arbor. It has several grapevines and kiwi vines as well as thornless blackberry plants and strawberries and a few herbs.
This past fall was the first year that these particular grape vines bore fruit, some of it was as advertised seedless, and some had seeds. Disappointing when you order seedless vines from a reputable company and don't get what you ordered. The following is a photograph of the rest of the raised beds that we built attached to this one.
The tree you see at the left of the raised bed died last year, winterkill, but there is a Giant Breda Medlar on the right end of this particular bed that is healthy and has fruited for the past two years. To the right of the end of this bed is another raised bed with 7 blueberry bushes in it and they are doing well.
The grassy area to the right and also south of the first photo of raised beds are areas where I plan to put more raised beds this year for annual vegetable crops. We generally grow our annual crops around the property here and there, but we need to have an area near the house for them, in the sun, to make them easier for us in our old age. 
The above photograph was taken from this deck, you
 can barely see the raised beds beyond this pear tree that was flowering last spring. This Ayers Pear tree got so heavy with fruit last fall that the branches were laying on the deck and pushing over the railing, so there will be some railing removal and some pruning due to this pear tree this year. We have several pear trees, apple trees, plum trees, cherry trees, a peach tree, and lots of nut trees. But I'll talk about those in later posts. I hope to inspire you to put fruit trees in your yard, and if your property is too small, or if you are in an apartment, you can always grow a dwarf tree in a container on a balcony or patio. Fruit trees produce more food than any other plant that you can grow, and they don't take as long as you might think to produce food. The tree itself will cost you under 50 dollars and will feed you for 20 to 30 years. Definately the best investment you can put into your property after your home and garage.
The second photo above is one of our self seeded apple trees, we have 3 that seeded themselves. Also that is another grape arbor (we have several) that is totally covered with grapes by mid summer. The self seeded apple trees arrived from apples thrown out or used for deer bait many years ago, there is one on the end of our pond and one in the middle of our rear woods as well. You remember the story of Johnny Appleseed? Well that is what he did, plant apples all over from apple cores he buried, now that is known as gorilla gardening. People planting things in places that are not owned or used by other people, food crops or other things. We also have a lot of apple trees that we planted ourselves, but the self seeded ones are really strong growers. The one in the woods could use a little more light though. 


Here's looking at that same grape arbor and apple tree later in the summer, I'm standing just north of our kitchen window taking this photograph last summer. This lawn is on top of our drainfield, and the plants surrounding it are planted on the slope of the drainfield The bird bath marks the cleanout access to the drainfield to make it easy to find. 
We had a housefire in July of 2002. This drainfield was built when we moved a new home onto the property after the housefire and put in a new drainfield. So all of this that you see here grew in the past 16 years.

 Another view of the same drainfield, looks really weedy, but most of the grasslike plants you see are actually siberian iris, daylillies, ornamental grasses and other plants that were yet to flower when this photo was taken
As we go on with more post later I'll share with you more of the property and what we did and are  doing to get to where we are today. Hopefully we will continue to grow together.